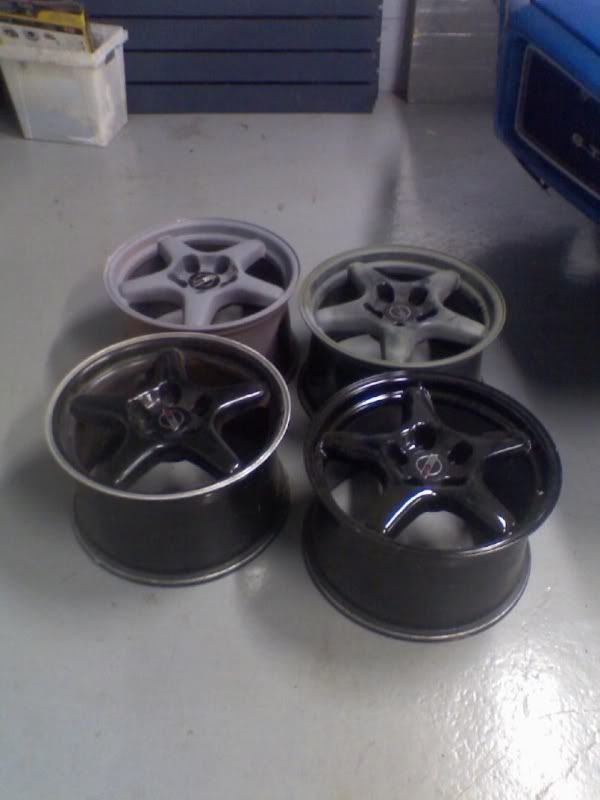
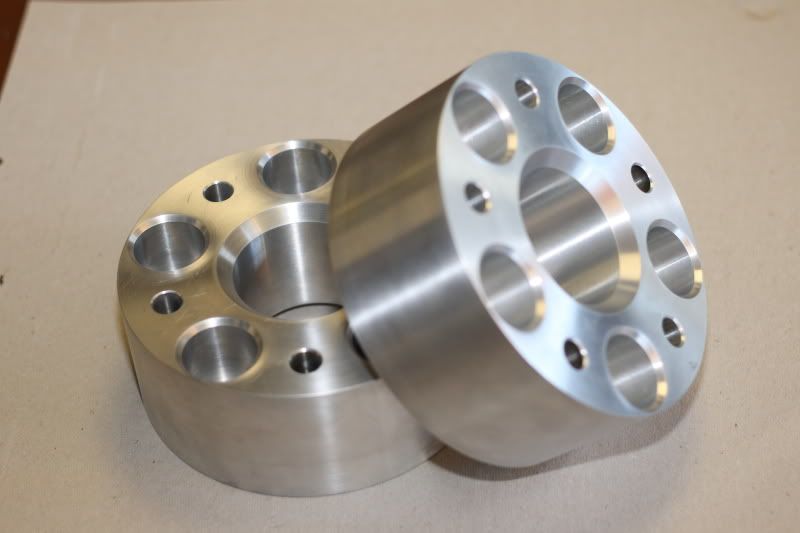
Well i got my wheel spacer finally made
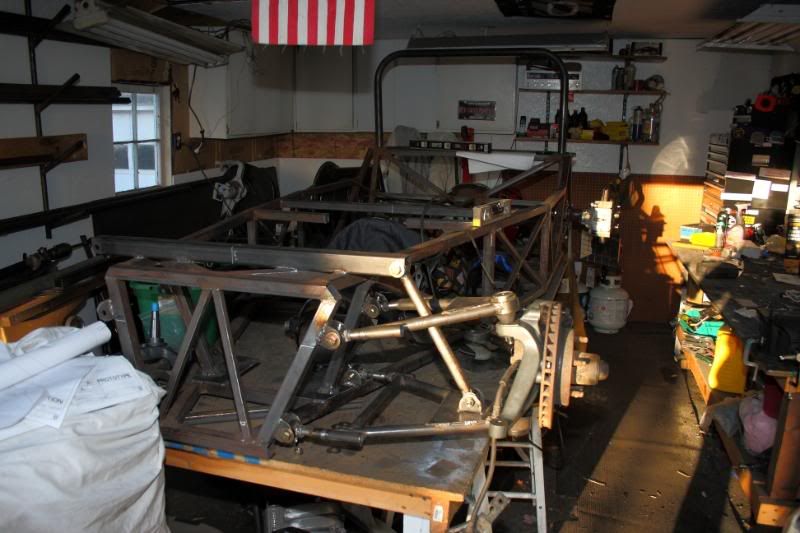
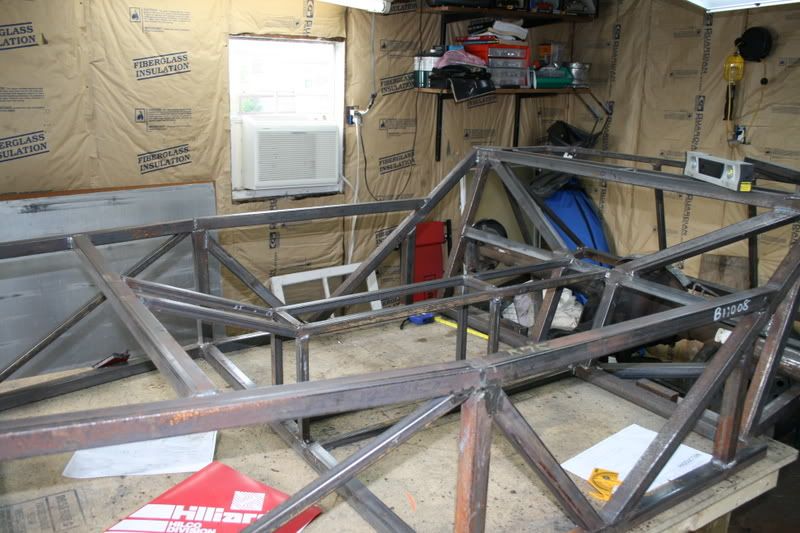
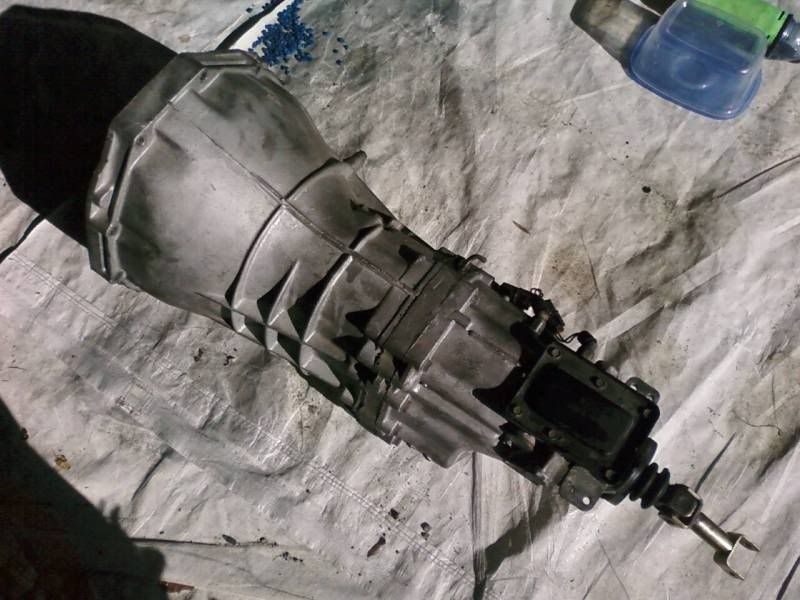
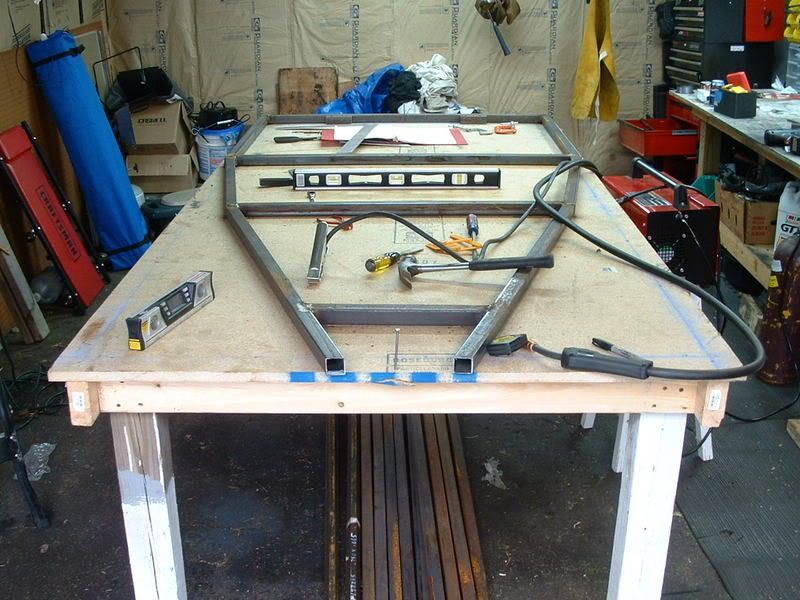
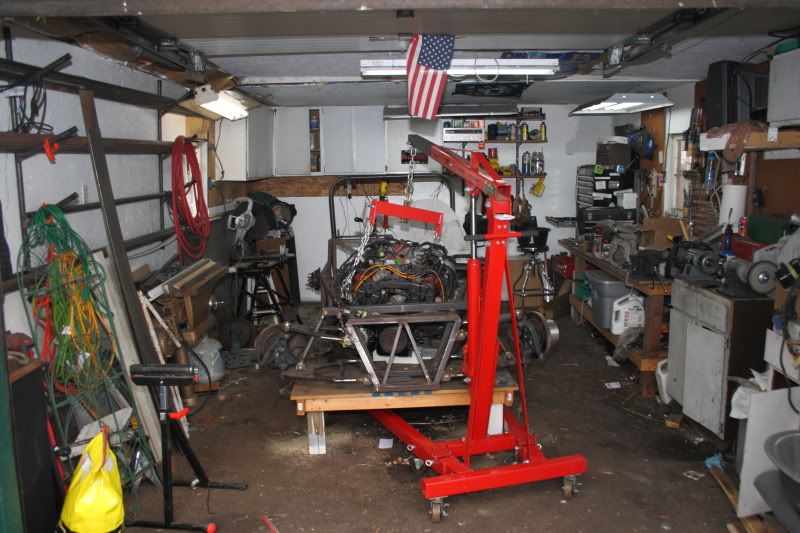
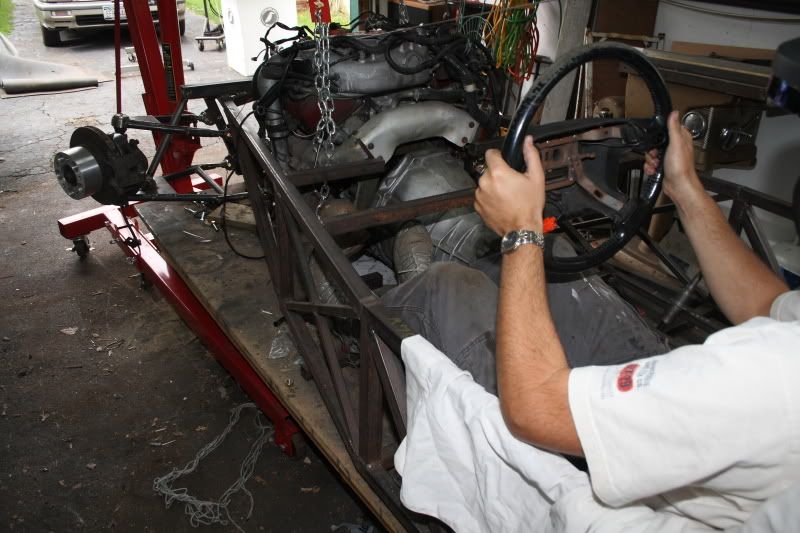
UPDATE!!! I had to lower my build table 18" so that i could lift the motor up and over the frame rails to fit it in the chassis. So i cut down the legs, slowly but surly its getting closer and closer to the ground! Then we were able to hoist the motor up and into the chassis. It took the better part of the morning to get the motor all centered up in the chassis. But we got it in and made temp solid mounts to hold the motor in place wile i fab up real mounts. In order to place the motor we had to place the tranny in there also the seats. I started the drivers side motor mount, and that was about as far as i got today...
And now onto the pics.
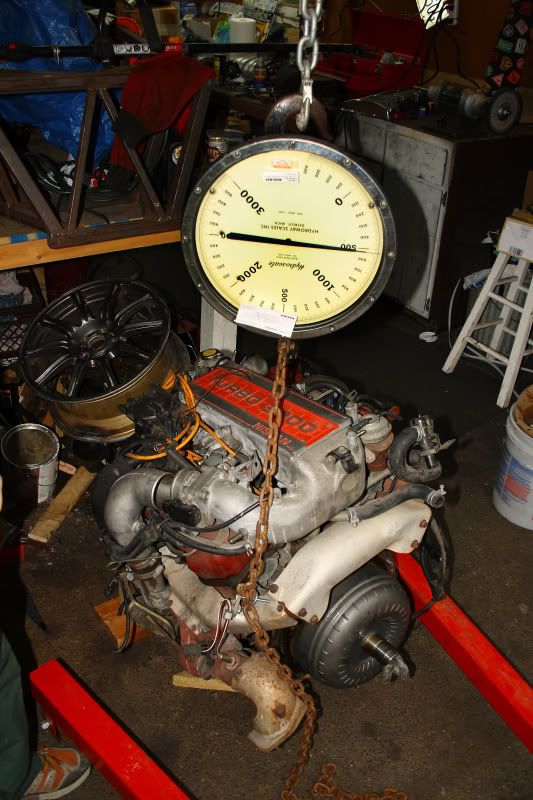
Motor and tranny in place


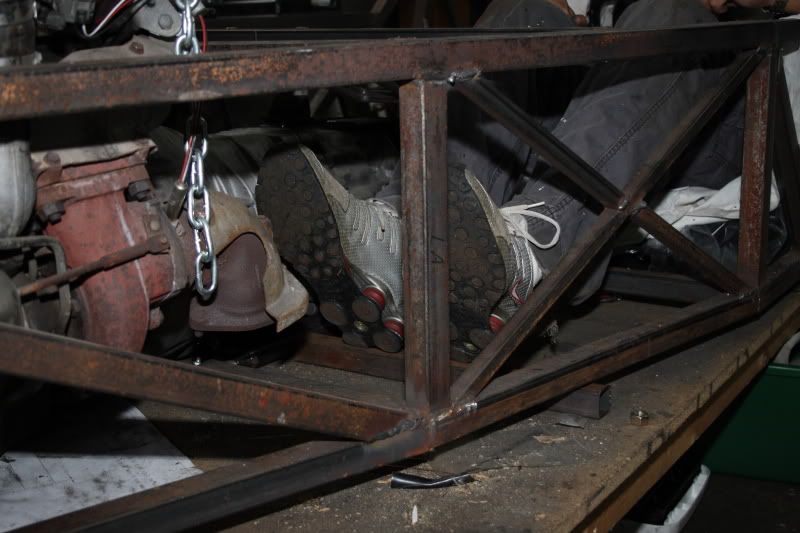
Foot warmer... My feet will NEVER be cold in this car! lol

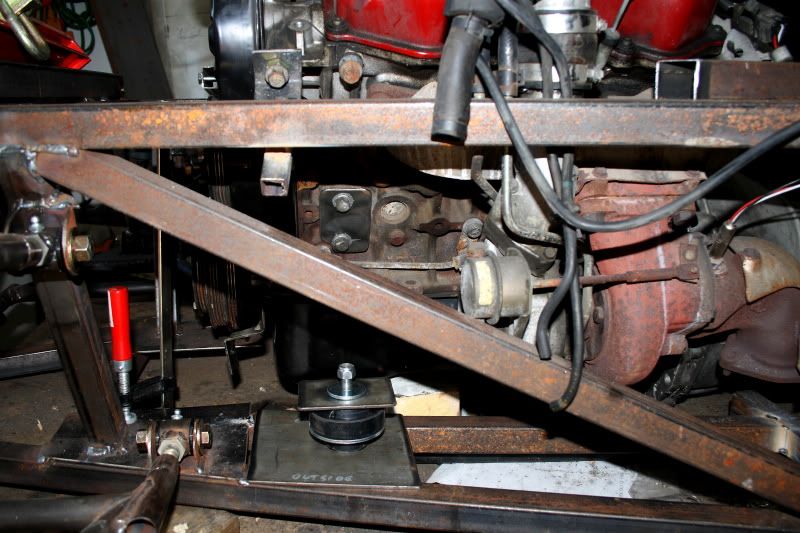
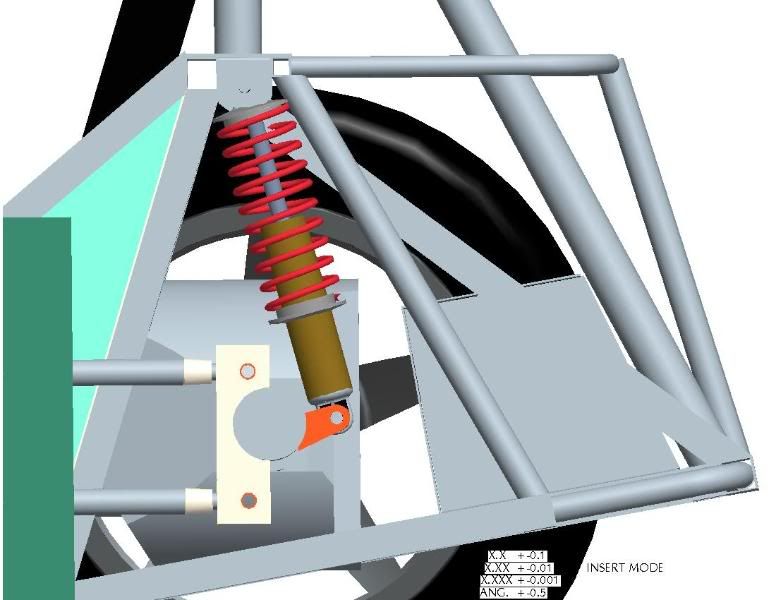
Ok so weekend update. We got both the drivers and Passangers side mounts all cut and tack welded into place. I have to get my gas bottle back so i can throw some nice and clean welds on there. I also got the tranny in place and im ready to fab the tranny mount! The last few weeks have been going good in the garage
Onto the pics.
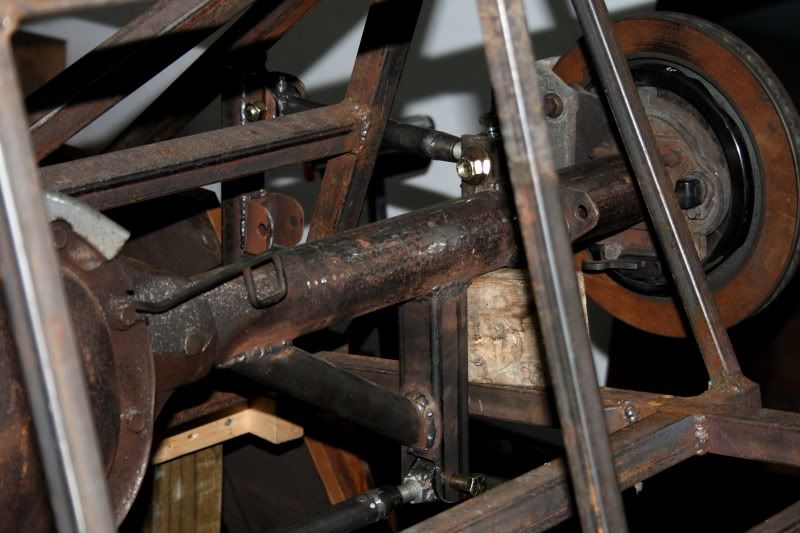
Drivers mount
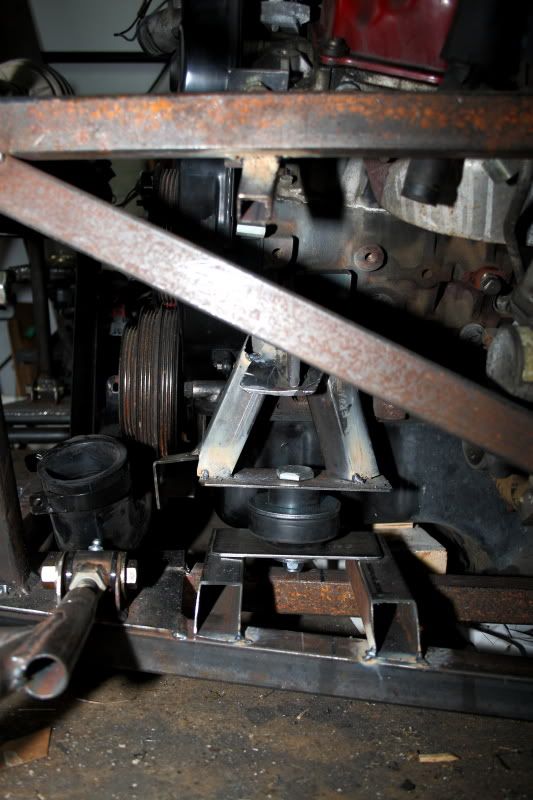
I have been plugging away on the car when i get time. I have gotten the drivers side motor mount all welded up. I guess that i have a "female welder" since it threw a fit because i never take it out anywhere nice. I took her top off and went for a drive and its all better?! Oh well what is important is that she is back to work. lol
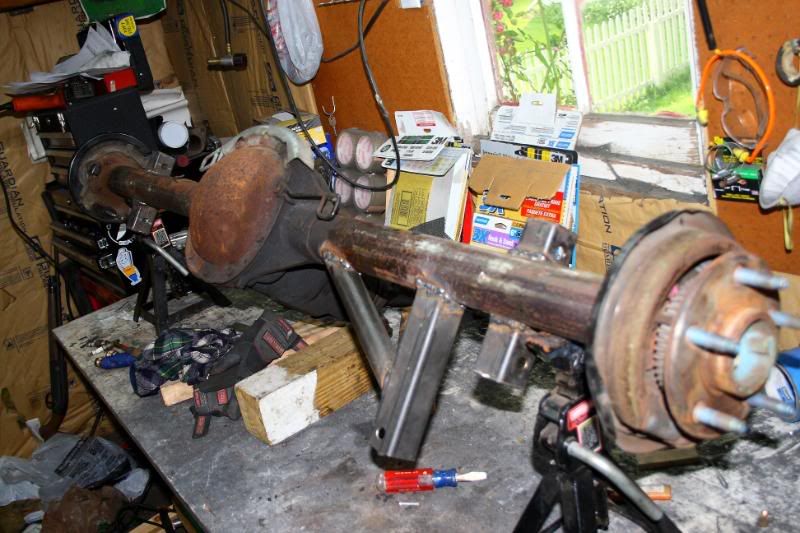
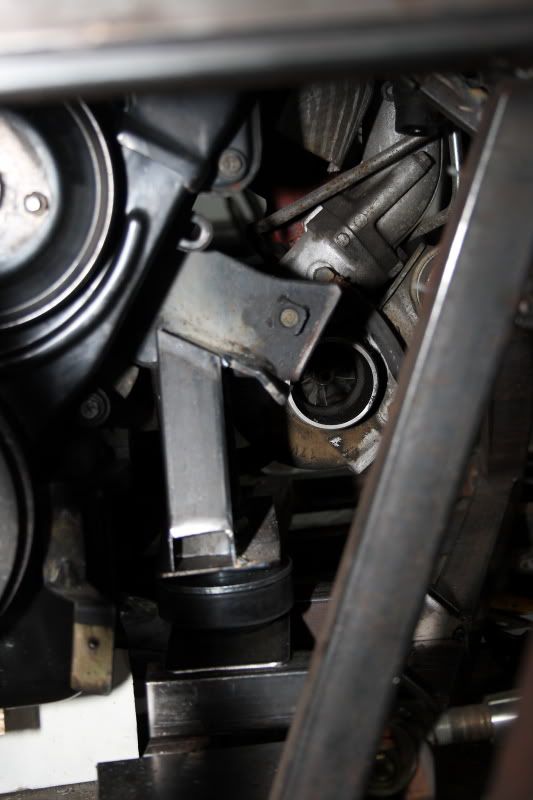
I also took the turbo "elbow" off the turbo. Well there are 5 bolts, and 3 of the bolts broke! Grrrr The ones that didn't break are the studs and nuts. I got one of the bolts out i just need to work the other 2 out. I hope that they all come out! I knew that this was going to happen... I was just hoping that it didn't. Well i guess that now i can figure out the bolt pattern now.... And i guess have a flange made up.
Crappy cell phone pics of the motor mount.